Bassman Restoration
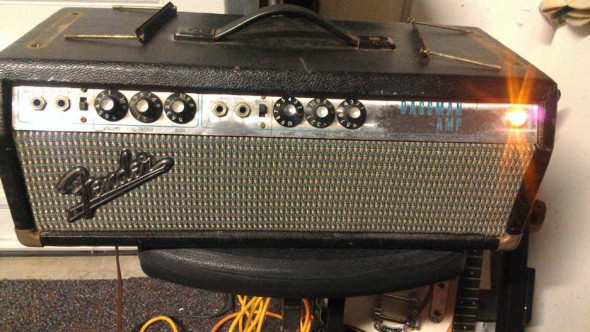
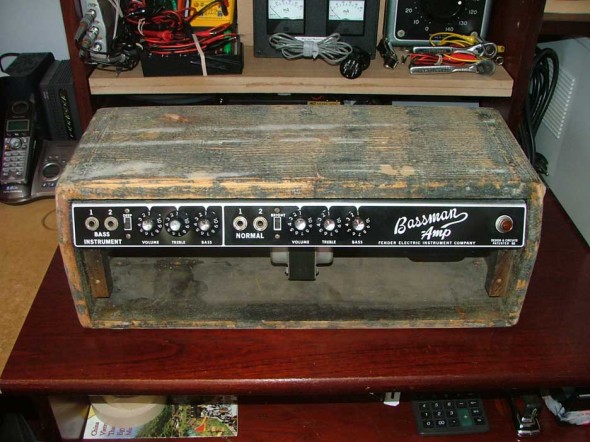
This 1968 Drip Edge Black Line Bassman was in fairly rough shape when I began the restoration. However, what made this such a nice amp was that it was 99.9% factory original. Nothing other than tubes had been changed, but a master volume pot was added to the back of the chassis. Even had the ungrounded power cord and original filter caps. It’s getting harder and harder to find a 1960’s era Fender that hasn’t be messed with.
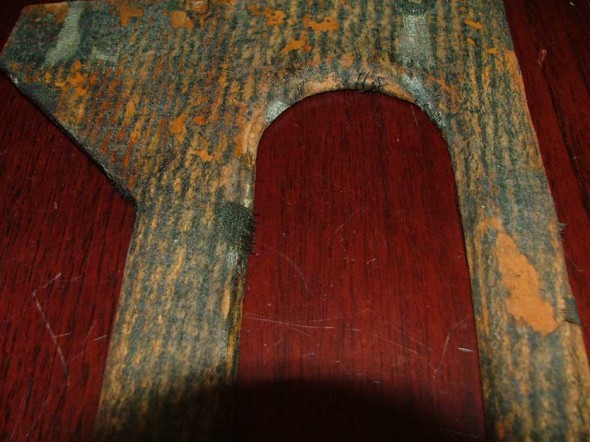
All of the cabinet hardware was rusted, damaged, or missing. The tolex was seriously worn, torn, and the adhesive was de-bonding. The Filter caps were shot and the amp was very noisy.
There were two phases to this restoration. 1) restore the cabinet. 2) replace filter caps and correct any circuit/component problems.
Cabinet Restoration
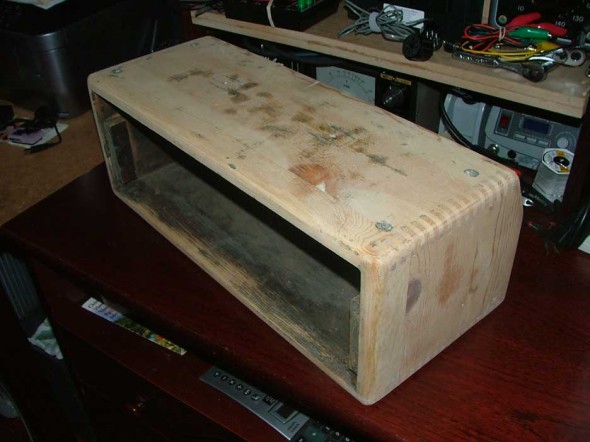
Pealing off the old tolex on these amps and getting the cab ready for new, is always a challenge. Once the tolex is off the remaining adhesive has to be removed. This is done with a combination of sanding and paint stripper. The cab, like all factory cabs was not a work of art, but rather sloppily constructed. The Fender “craftsman” did not worry too much about the quality of the joints. With the cab stripped clean, it’s then a matter of smoothing out all the dings, dents, and gaps with wood filler. Remember, the quality of the prep work will determine the quality of the finish.
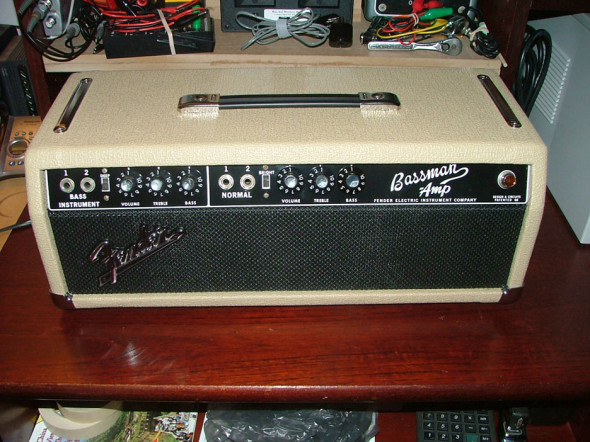
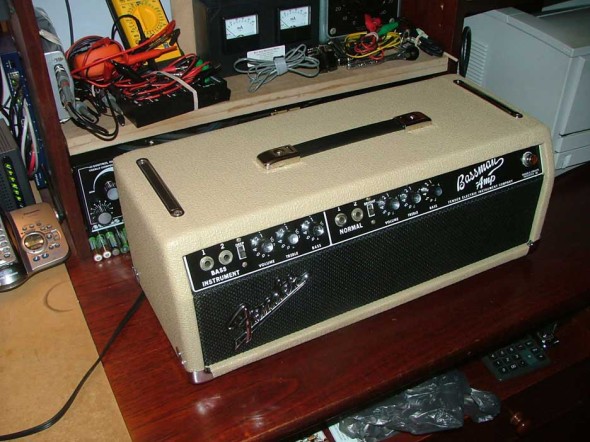
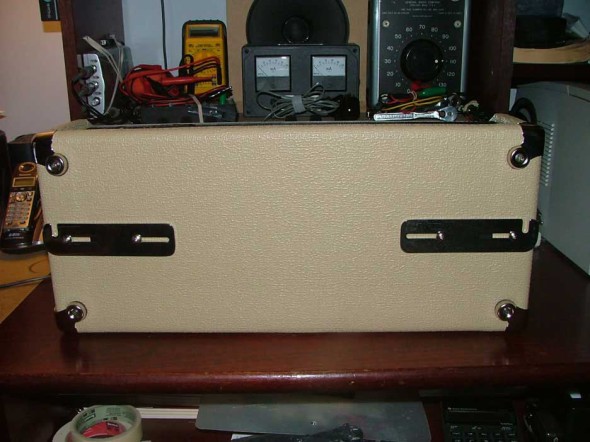
I decided to use blonde tolex as I love the look of the old blonde Fender amps. I used black matrix grill cloth as I feel it highlights the blonde tolex. I applied the new tolex in the same manner as the original factory covering.
Just to make things look even nicer I replace the SF faceplate with a BF plate. I think it looks stunning with the blonde tolex. Because this is a black line drip edge amp it has the original factory black face circuitry. No need the “black face” this amp as it come from the factory that way.
Chassis Restoration
I did clean up the chassis a bit. I was going to remove and repaint the transformers, but decided against it.
The one modification that had been done to the amp was to add a Master Volume pot on the back of the chassis. Fortunately it was done by adding phase cancellation to the PI. Removing it was as simple as un-soldering two wires. The only bad part is that a hole was drilled on the back of the chassis for the pot. Nothing I could do about that.
I made a very minor, and reversible, modification to the bias circuit. The factory bias design for the AB-165 circuit is horrible. It’s allow bias adjustment, but rather only provides a balance between the two power tubes. Sometimes Fender doesn’t get it right!
Also added a grounded power cord and disconnected the “death cap”. I did however leave the cap in the amp. It was one of the rare and valuable Aston blues.
Filter Cap Replacement
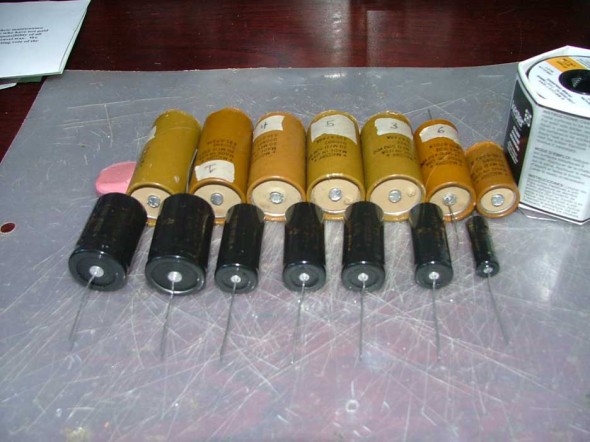
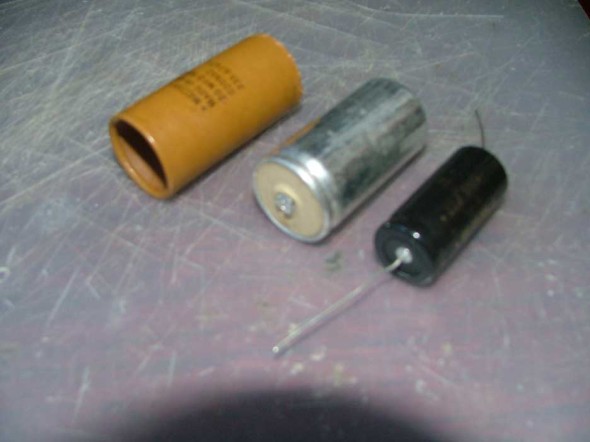
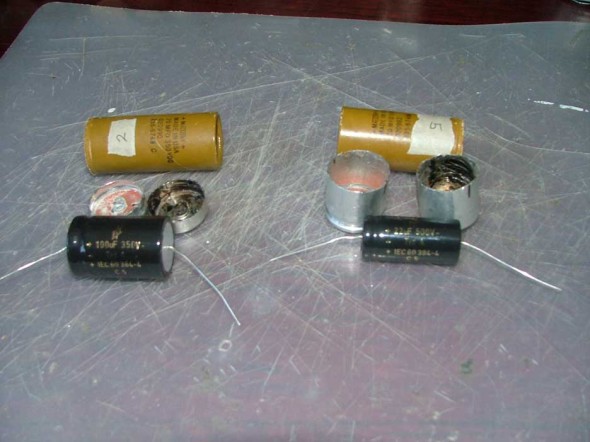
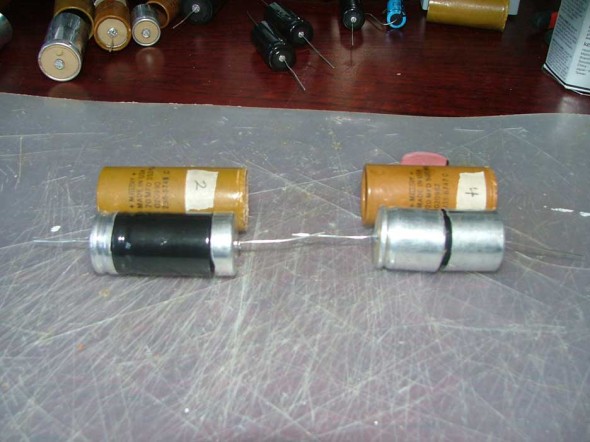
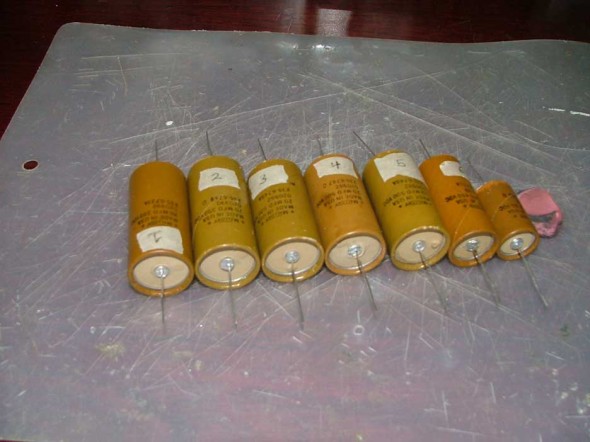
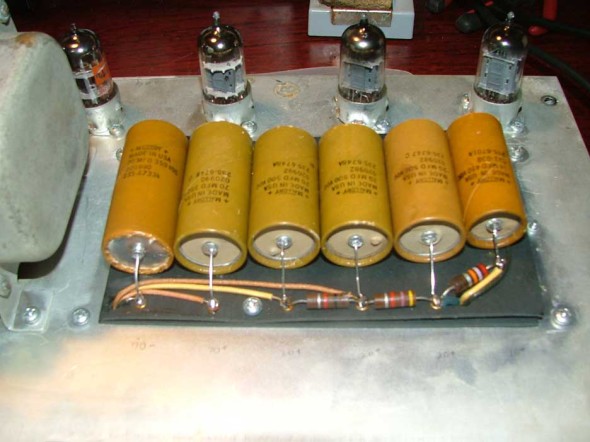
My goal was to keep the inside of the amp looking factory original. To do this I removed and hollowed out the factory filter caps and re-stuffed them with new F&T electrolytics. This is a tedious process, but well worth the effort. The new caps now look identical to the factory caps. Not even an amp tech would notice the difference.

